Your Cart is Empty
Congratulations on getting your first beeswax wraps! We've put together this resource guide to show you how to get the most out of your wraps.
Click to skip to each section.
If you prefer, you can give your wraps a quick rinse under cold water and hang dry. All our beeswax wraps are made to order for you which means you can also use them straight out of the box.
Pro Tip: It is normal for your beeswax wraps to feel slightly tacky to the touch. The tackiness comes from tree resin and necessary for your wraps to cling. You can reduce the feeling of tackiness by storing them in the fridge.
After each use, rinse your wraps under cold water. If heavily soiled, dilute soap in cold water and give it a gentle rinse.
Do not scrub, wring, or use hot water as it will damage the wax coating.
Allow to completely dry (to avoid wraps getting moldy) before storing in the refrigerator.
We recommend storing all your beeswax wraps in the refrigerator.
Our wraps are made from 100% natural ingredients with no preservatives and additives. Jojoba oil in particular has a shelf life of 1-2 years at room temperature and twice that long if keep refrigerated. Shielding them from the hot and humid Singapore weather will help you enjoy your wraps longer.

Beeswax wrap works well on most surfaces ie. wood, metal, ceramic, coconut bowls, and even plastic (they do not cling well to flimsy takeaway containers as it is difficult to press the wrap against the container to form a tight seal.)
Get creative, the possibility is endless but take care to avoid direct contact with:
•Raw meat, raw fish, or deli meats. Instead, put them into a bowl and cover so there is no direct contact with raw meats.
•All sources of heat. Including warm water, microwaves, oven, hot cars, dishwashers, and hot food.
Pro Tip: To cover half cut watermelon, use a larger piece so the wrap can stick to itself and form a tight seal around the watermelon.
Besides being REALLY BAD for our environment, single-use plastic wrap suffocates your fresh produce and traps natural gases they emit inside resulting in condensation which breeds bacteria and mold resulting in food waste.
Beeswax wrap is a BETTER alternative. Made with natural ingredients carefully selected for their unique qualities.
The wraps are breathable and acts like a skin layer that help retain your fruits & vegetable's moisture while releases natural gases emitted so they stay fresh.
We did a little experiment and put our bok choy to the test.
Here are some ideas on ways you can use your wraps.
Foldies are the newest addition to our store. They are available in three sizes.
Snack Foldie 8x13in / 20.3x33cmWraps can be a little stiff when new, just gently scrunch them up and unfold. This will activate the beeswax, soften the wrap and help them cling.
Your space may be a little warm, store wraps in the refrigerator so they last longer.
Yes! Just be careful when unwrapping to let your wraps warm to room temperature. Frozen wax is brittle and may chip off your wrap when unfolding.
We know how distressing this can be! This may be caused by using too much soap or scrubbing.
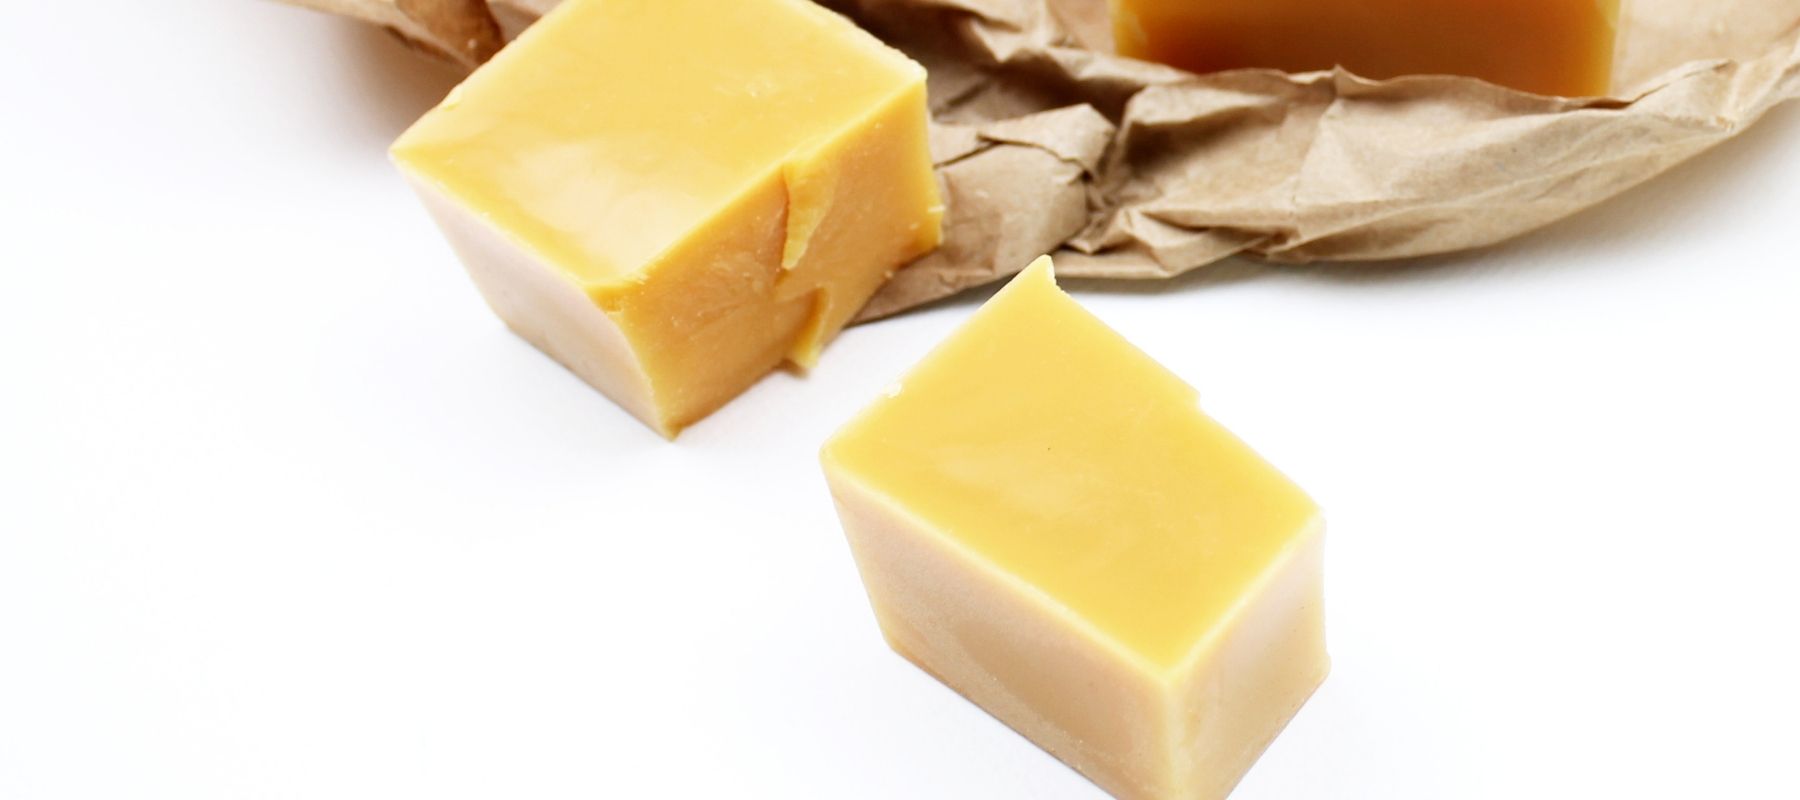
But don't panic, we are here to help. Depending on the extent of damage (and the amount of wax left on your wrap), you may be able to revive your wraps just by popping them into the oven for a couple of minutes for the wax to redistribute itself or you can purchase our mending bar to top up the wax and your wraps will be good as new.
INSTRUCTIONS:
1. Line a baking tray with baking paper or silicone mat and place the worn wrap on top.
2. Chop mending bar into small pieces and sprinkle evenly over the wrap.
3. Place the tray into the oven at 80-100C for 5 minutes or until the wax has fully melted.
4. Remove tray from oven and use a clean brush to evenly spread the wax.
5. Put the tray back into the oven until the wax has fully melted.
6. Remove tray from the oven.
7. Quickly lift the top two corners of the wrap and peel it entirely away from the baking paper. Be careful, it’s hot!
8. Keep holding the two corners of the wrap until the wax is cool.
Drop us an email at hello@minimakers.sg or chat with us on Instagram @minimakers.sg.
Comments will be approved before showing up.