All You Need to Know About Repairing Old Beeswax Wraps

June 10, 2021 4 min read

All You Need to Know About Repairing Old Beeswax Wraps

First things first.

Give yourself a pat on the back for religiously using your beeswax wraps the past year - that’s at least 150 meters of cling wraps saved!

As with all things, beeswax wraps do require a little maintenance every now and then and we are here to make this process simple for you.

How to tell if my beeswax wraps need refreshing?

If your wraps are facing these issues, chances are that they need a touch up.

  • Flaking or cracking
  • Limp and no longer clings
  • Washed with harsh soap or alcohol
  • Scrubbed with an abrasive brush or sponge
  • Came into contact with hot water, or heat source 

Guide to repairing old beeswax wraps

Why the oven method?

We have experimented with both ironing and baking method over the years and we hands down prefer the oven method. Ironing does not yield a nice even wrap and tend to make a big mess on you & your equipments. All the instructions given below will be based on the oven method.

Option 1: Refreshing beeswax wraps without wax.

For lightly damaged / worn wrap that still have an overall thick coat of wax. A quick refresh in the oven is all they need to redistribute the existing wax! Watch our DIY video below.

You will need:

  • Baking tray 
  • Silicone mat / baking paper
  • Brush 

Instructions:

Step 1: Preheat the oven at 80-100C
Step 2: Line the baking tray with baking paper / silicone mat and place the worn wrap on top.
Step 3: Place the tray into the oven for 5 minutes or until the wax is fully melted
(Optional: Remove tray from oven and use a paint brush to evenly spread the wax and pop the tray back into the oven until the wax has remelted.)
Step 4: Remove tray from oven. Quickly lift the top two corners of the wrap and peel it entirely away from the baking paper/ silicone mat. Be careful, it’s hot!
Step 5: Keep holding the two corners of the wrap until the wax is cool and your wrap should be good as new.

Tips:

    • Keep the baking paper for your next refresh.
    • Beeswax will peel right off the silicone mat when cooled, you can keep the wax bits for next refresh. 


If the wax on your wrap is completely gone, you will need to top-up wax. Here are some alternatives.

Mending with Only Beeswax

Mending with beeswax only will result in wraps that do not cling as well but still works great in keeping your produce fresh.

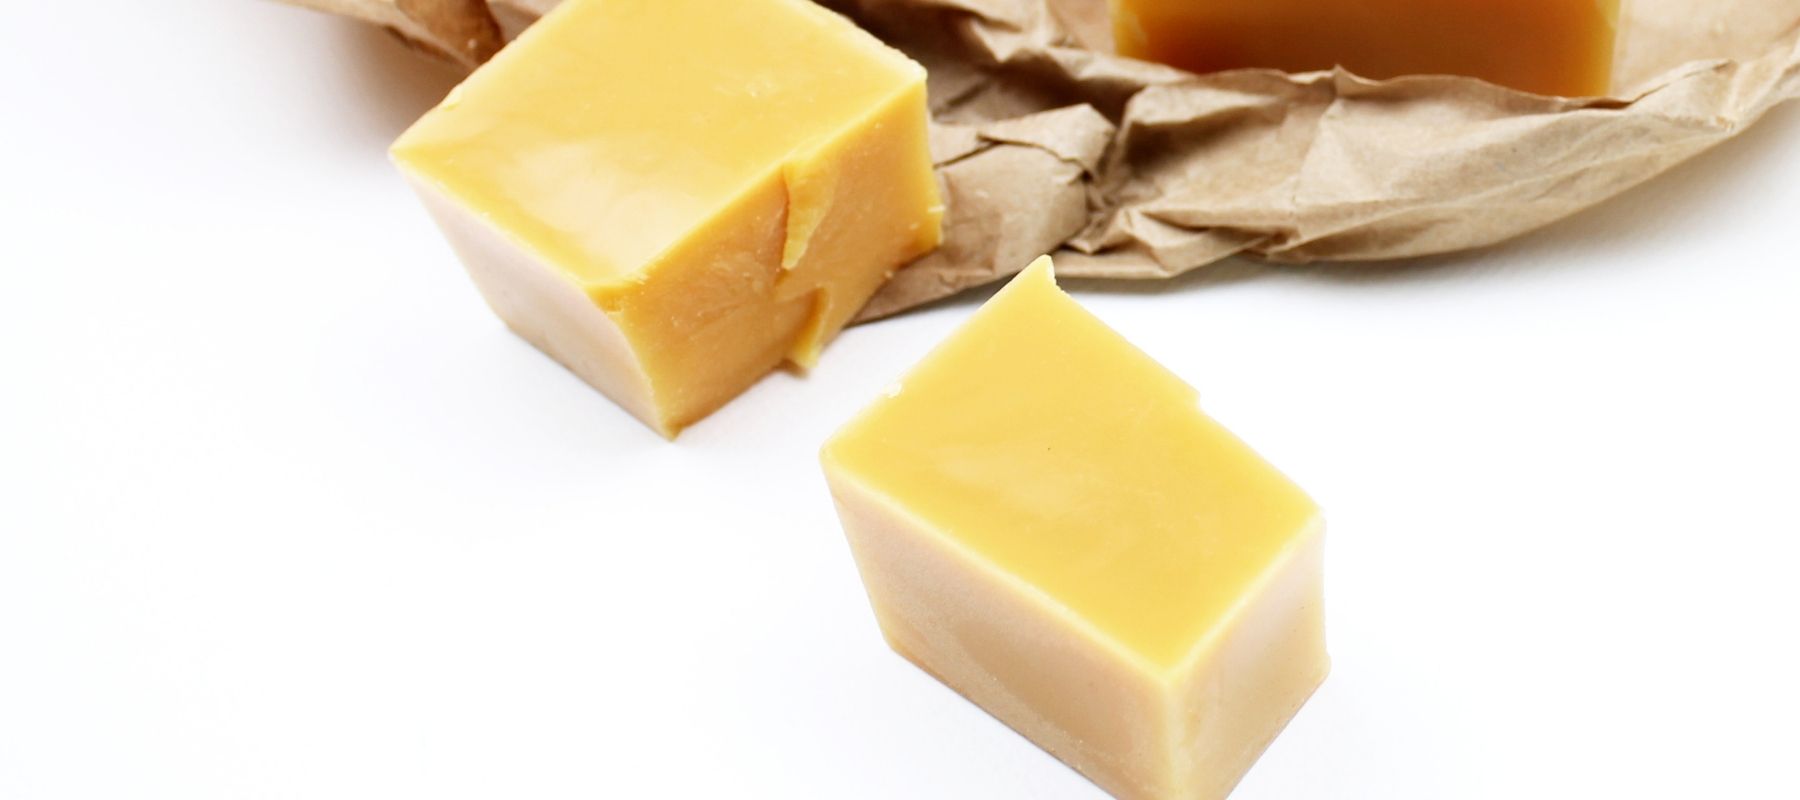
When sourcing beeswax, get them directly from beekeepers to avoid getting fake beeswax. It's difficult to tell if your beeswax has been adulterated with paraffin unless you send it to a laboratory for testing* but a good clue is in the price. If it's cheap, it probably isn't real!

Mending with Beeswax, Tree Resin & Jojoba Oil

To make wraps that cling, you will need to add tree resin & jojoba oil. Melt the ingredients together in a pot - be patient, don't rush the process. Heating your wax above 100C will reduce the quality of your wax.

Alternatively, leave the heavy lifting to us and grab these ready to use mending bars. Formulated with our special blend of beeswax, tree resin, and jojoba oil - just chop and sprinkle them on to your old wraps for a quick refresh!

Minimakers Mending Bar Test

We put our mending bar to the test, we mended 5 small, 3 medium, 2 large wraps and still have leftover wax (see mending bar on the left).

Option 2: Refreshing beeswax wraps with wax.

You will need: 

  • Baking tray 
  • Silicone mat / baking paper
  • Brush 
  • Mending bar 60g (Mends up to 8 medium sized wraps)

Instructions:

Step 1: Preheat the oven at 80-100C
Step 2: Line the baking tray with baking paper / silicone mat and place the worn wrap on top.
Step 3: Chop mending bar into small pieces using a knife and sprinkle evenly over the wrap.
Step 4: Place the tray into the oven for 5 minutes or until the wax is fully melted
(Optional: Remove tray from oven and use a paint brush to evenly spread the wax and pop the tray back into the oven until the wax has remelted.)
Step 5: Remove tray from oven. Quickly lift the top two corners of the wrap and peel it entirely away from the baking paper/ silicone mat. 
Step 6: Be careful, it’s hot! Keep holding the two corners of the wrap until the wax is cool and your wrap should be good as new.

Tips:

    • Keep the baking paper for your next refresh.
    • Beeswax will peel right off the silicone mat when cooled, you can keep the wax bits for next refresh. 

Not keen on DIY? We've got you covered.

Dispose your wraps responsibly without creating more burden on our waste management system with these options:

  • Cut worn wraps into thin strips and use them as a fire starter for your BBQ or camping trip.
  • Compost old beeswax wraps by cutting them into strips and burying them into your soil / compost mix.

Now that you’ve said thank you and farewell to your old wraps.

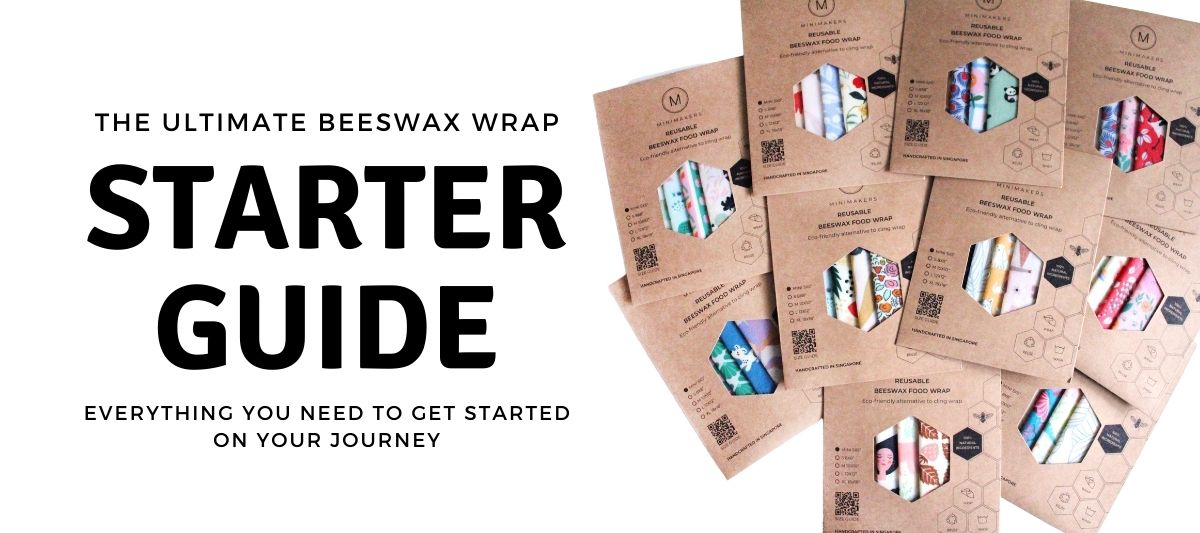
Shop our new arrivals here.

Our goal at Minimakers is to make your transition into a less-waste lifestyle fun, purposeful, and easy.

If you like what we do, please follow us on Instagram and consider leaving us a review!


*Minimakers beeswax has been tested and certified by the laboratory to be pure and safe from harmful pesticides.


Leave a comment

Comments will be approved before showing up.


Also in Minimakers Blog

Minimakers Beeswax Wrap: Sustainable and Inclusive Corporate Gifting in Singapore

January 28, 2024 1 min read

Read More
bundles of beeswax wraps
Ultimate Beeswax Wrap Starter Guide

February 05, 2022 4 min read

Congratulations on getting your first beeswax wraps! We've put together this article to show you how to get the most out of your wraps.
Read More
Holiday Activity: Grow Sunflower Sprouts in Just 12 Days

June 16, 2021 2 min read

Running out of ideas on fun activities to do this school holiday? We’ve got you covered! Explore growing sunflower microgreens.
Read More